The Blood Pressure Cuff and Monitor in the aTouchAway® solution kit usually arrive connected and ready to use.
Connecting the Blood Pressure Cuff to the Monitor
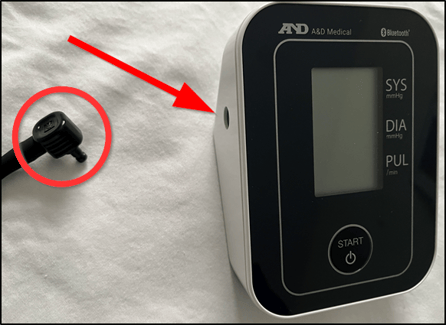
Take the loose end of the hose and push it gently but firmly into the hole on the left side of the monitor.
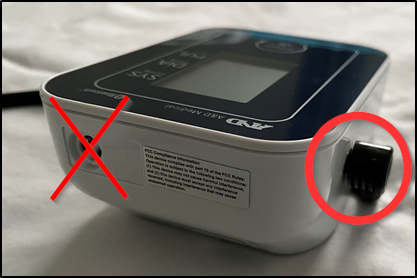
Do not put it into the hole at the top of the monitor.
Preparing the Blood Pressure Cuff
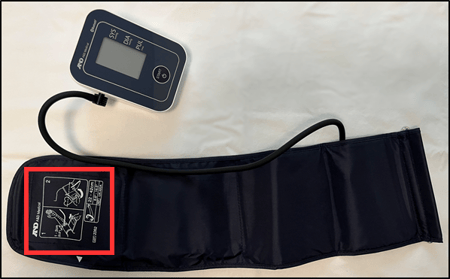
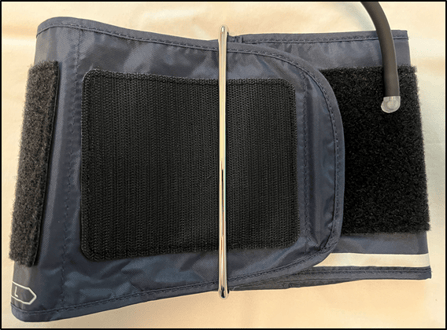
Step 1: Stretch the blood pressure cuff out flat with the hook and loop (Velcro) facing down and the instructions facing up.
Step 2: Fold both ends of the blood pressure cuff towards the centre of the cuff.
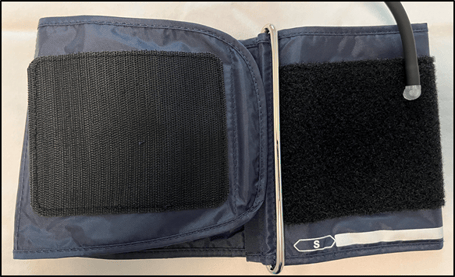
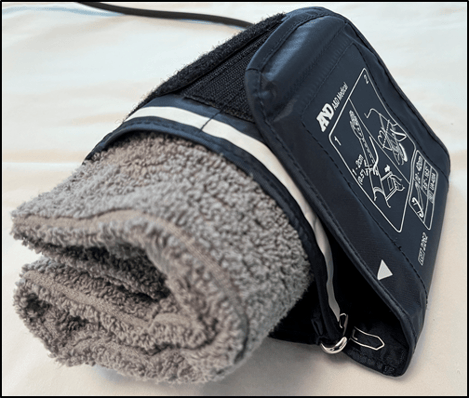
Step 3: Take the end of the blood pressure cuff with the instructions and feed it through the metal bar on the other end of the blood pressure cuff.
Step 4: Fold the end of the blood pressure cuff with the instructions away from the middle. It is now through the metal loop and folding back on itself.
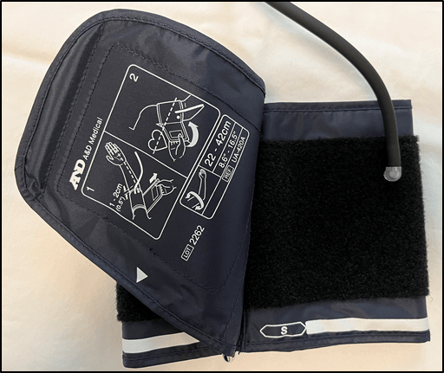
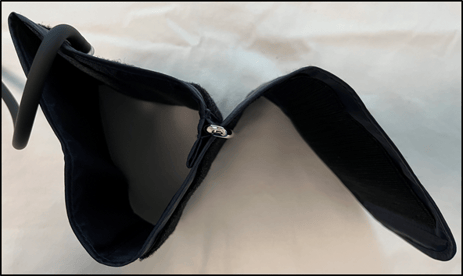
Step 5: You have now formed a circle with the cuff.
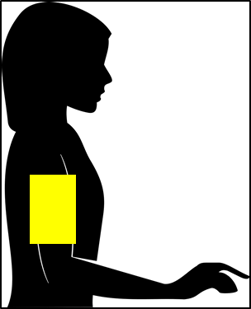
Step 6: Slip your arm (left, if possible) through the circle. Pull the blood pressure cuff up your arm so that the bottom of it rests about 1-2 cm (0.5") above the crease in your elbow.
Step 7: Tighten the cuff by pulling on the free end of the cuff. When the blood pressure cuff is snug (but not tight) on your arm, press the loose end of the cuff into the cuff that encircles your arm. The loose end will stick to the other part of the cuff.
Be sure that the arm protector is flat against the arm and not folded under the cuff.

Click here for information on: How to Check your Blood Pressure with the A&D BP Monitor