You may be prompted by your health care plan to take your vital signs. That prompt will allow you to take and record your vital signs directly from that window. In other cases, you may have to go through the process manually. To do this, launch your aTouchAway® App and go to the Health tab. In the Health section, select the vital sign you would like to record.

Once you click on the vital sign you want to check, the screen will show you your last result and will give you the option to enter your data manually or to read from a device. If you have a compatible and connected Bluetooth device, select Read from device. If not, then select Manual entry.

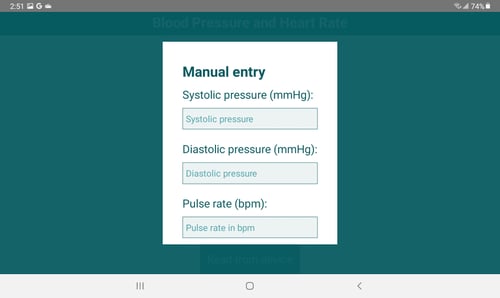
Manual Entry
Enter the data as shown on your device. Be sure to scroll to the bottom of the box to see the Save button. Click Save to exit the screen.
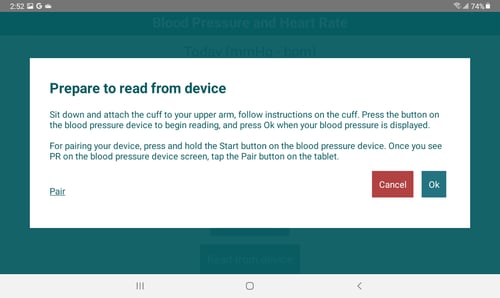
Read from Device
To read from a connected device, click on the Read from device button and follow the instructions on the screen.
For more detailed instructions on how to take your vital signs, please refer to the following articles:
How to check your Blood Pressure