To access the Patient Overview, use one of the following methods. Your access may depend on your organization, your role, or your permissions.
1. Use Health Overview
On the aTouchAway® Dashboards under Live Monitoring, click Health Overview.

Find the patient for whom you would like to export data. You can use the search bar or filters to assist in locating a specific patient. Click the patient's name to access the Patient Overview.

2. Use Creation / Token
On the aTouchAway® Dashboards under Patient Management, click Creation/Token.

Find the patient for whom you would like to export data. You can use the search bar or filters to assist in locating a specific patient. Click the eye icon to the right of the patient's name to access the Patient Overview.

3. Use Patients
On the aTouchAway® Dashboards under Patient Management, click Patients.

Find the patient for whom you would like to export data. You can use the search bar or filters to assist in locating a specific patient. Click the 3-dot menu to the right of the patient's name. Click Patient Overview to access the Patient Overview.

Export the PDF
To create the PDF, on the Patient Overview page, click the Export PDF link in the top right corner.

If you've never created an export, you will see the following message. At the end of the process, the preferences you've selected can be saved to create a preset, allowing you to save time on your next exports. Click NEXT to continue.

Select the Health Indicators you would like to display in your report. Click NEXT to continue.

Select the date range and name the file. Click NEXT to continue.

There are additional customizations available. These are optional. Click NEXT to continue.

Choose the forms you want to export. Please note, you will only see the forms that are available to your organization; therefore, this screenshot may not match what you see. Click NEXT to continue.

Choose the Pathway(s) you'd like to export.
You will now see the option to save your selections as a preset or to simply save your PDF.
Click SAVE SETTINGS AS PRESET to save these settings.
Click SAVE to save the PDF to your computer. The file should be located in your downloaded files folder.

Once you've created a preset, you can export PDF files by selecting the preset at the start of this process.

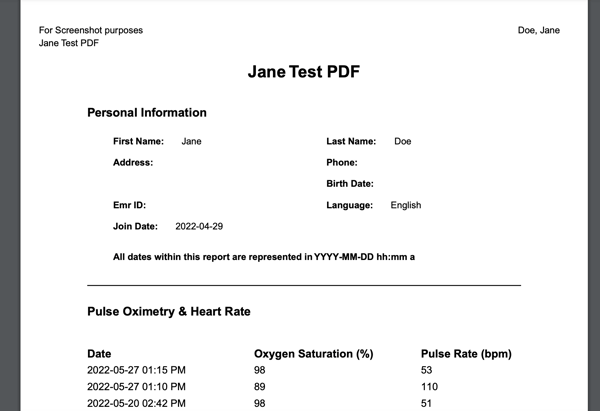
The length of the exported PDF document will depend on the indicators chosen.